

How to Flush Your Boat Engine
The information provided is for general informational purposes only. This information is based on the author’s personal experience and does not constitute financial or legal advice. You should consult with a professional and/or conduct your own independent research to verify any information in this post prior to making a financial decision or otherwise.
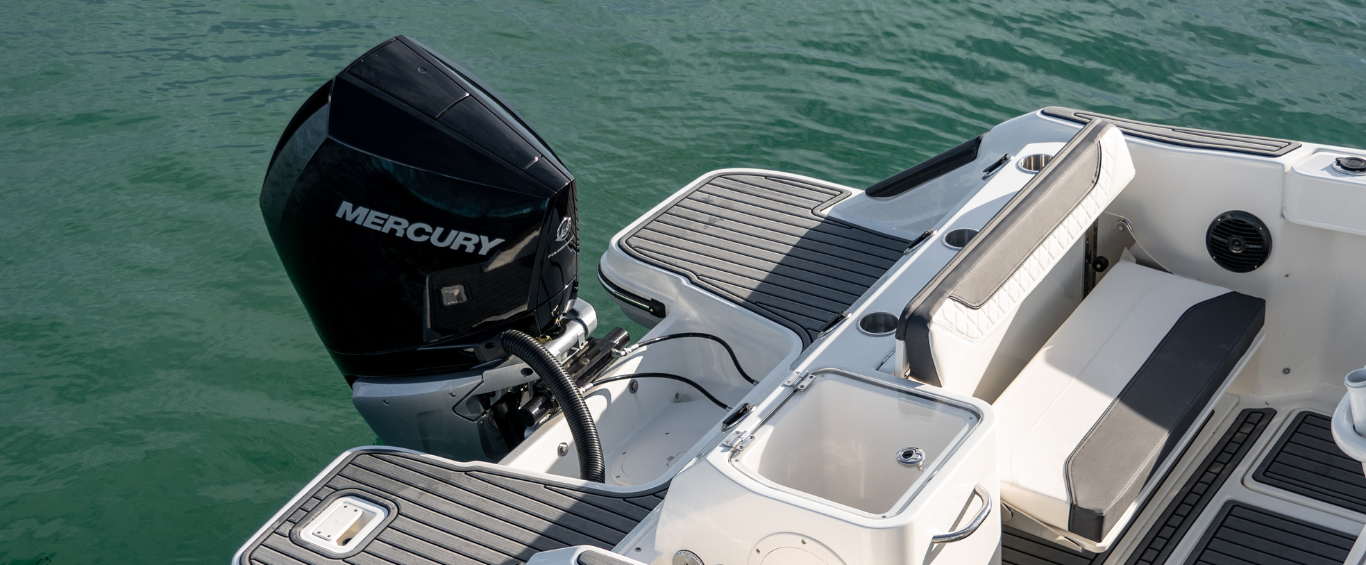
Learning how to flush your boat engine properly is one of the most important maintenance tasks a boat owner can do to protect their investment. While salt water can leave damaging crystals behind if this process is skipped, even freshwater bodies of water contain impurities that need flushing.
Different model Mercury outboard and MerCruiser sterndrive engines have vastly different procedures for fulfilling this important boat engine maintenance step so always consult your owner’s manual before flushing your engine for the first time.
Mercury FourStroke Outboards From 75hp to 300hp
Mercury makes this outboard care procedure easy by including a flush port located on the port side (left) of the engine’s cowling. It’s important to note the engine is never turned on to perform this outboard motor maintenance task.
- Trim the engine down
- Unscrew the flush port cap found on the left side of the cowling
- Twist off the cap from the hose fitting
- Attach a garden hose to the engine hose fitting
- Turn on the water supply half-strength
- Flush for 15 minutes
When done, turn the water off, detach the garden hose, reinstall the cap on the hose fitting, and twist it back onto the cowling.
Mercury 40hp to 50hp FourStroke Outboards
Before flushing a 4.5L or 6.2L MerCruiser sterndrive engine, consult the owner’s manual, which can be found online. There are two ways to attach the water source: by using an “earmuff” attachment that fits over the intakes found on the lower unit or by ordering an optional flush kit from Quicksilver that has a built-in garden hose attachment.
- Remove the propeller for safety and while it’s off check for wrapped fishing line and lube the driveshaft splines
- Attach a garden hose to the earmuff or flush kit port and turn on the water full blast
- Lower the lower unit to the down position
- Make sure the throttle is in the neutral position and start the engine
- Press the throttle-only button and advance the throttle until the engine is at 1400 rpm
- Run the engine for 10 minutes then return the throttle to the idle position and shut off the engine
- Shut off the water and remove the hose
- Raise the outdrive and reinstall the prop
Faithfully flushing your Bayliner’s engine each time after an outing will increase its longevity and will prevent damage from occurring due to internal corrosion caused by salt or impurities.
This website does not provide financial or legal advice. The information available on this website is provided for general informational and educational purposes only and is not a substitute for professional advice. You should consult with the appropriate professionals prior to making any financial decisions. YOUR USE OR RELIANCE ON ANY OF THE INFORMATION PROVIDED HEREIN IS SOLELY AT YOUR OWN RISK. UNDER NO CIRCUMSTANCE SHALL WE HAVE ANY LIABILITY TO YOU FOR ANY LOSS OR DAMAGE OF ANY KIND INCURRED AS A RESULT OF THE USE OR RELIANCE ON ANY INFORMATION PROVIDED.